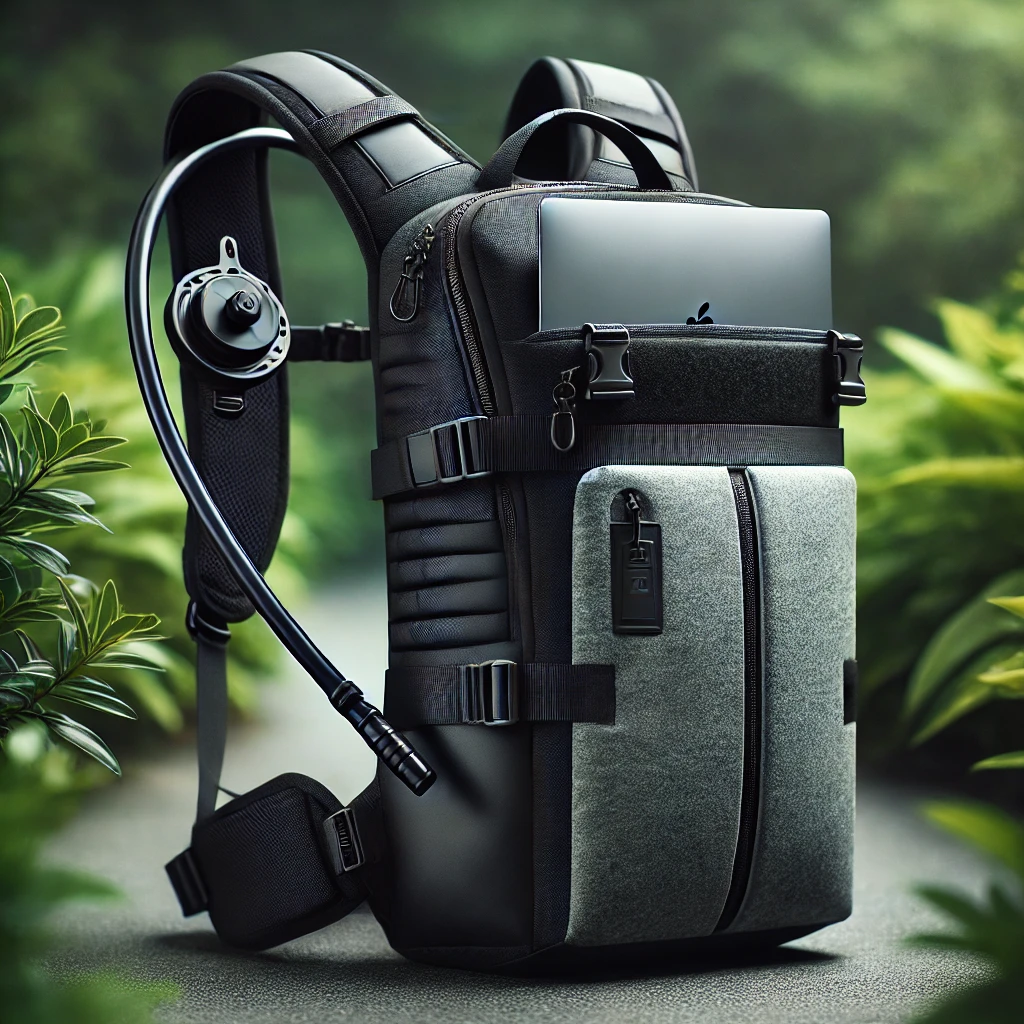
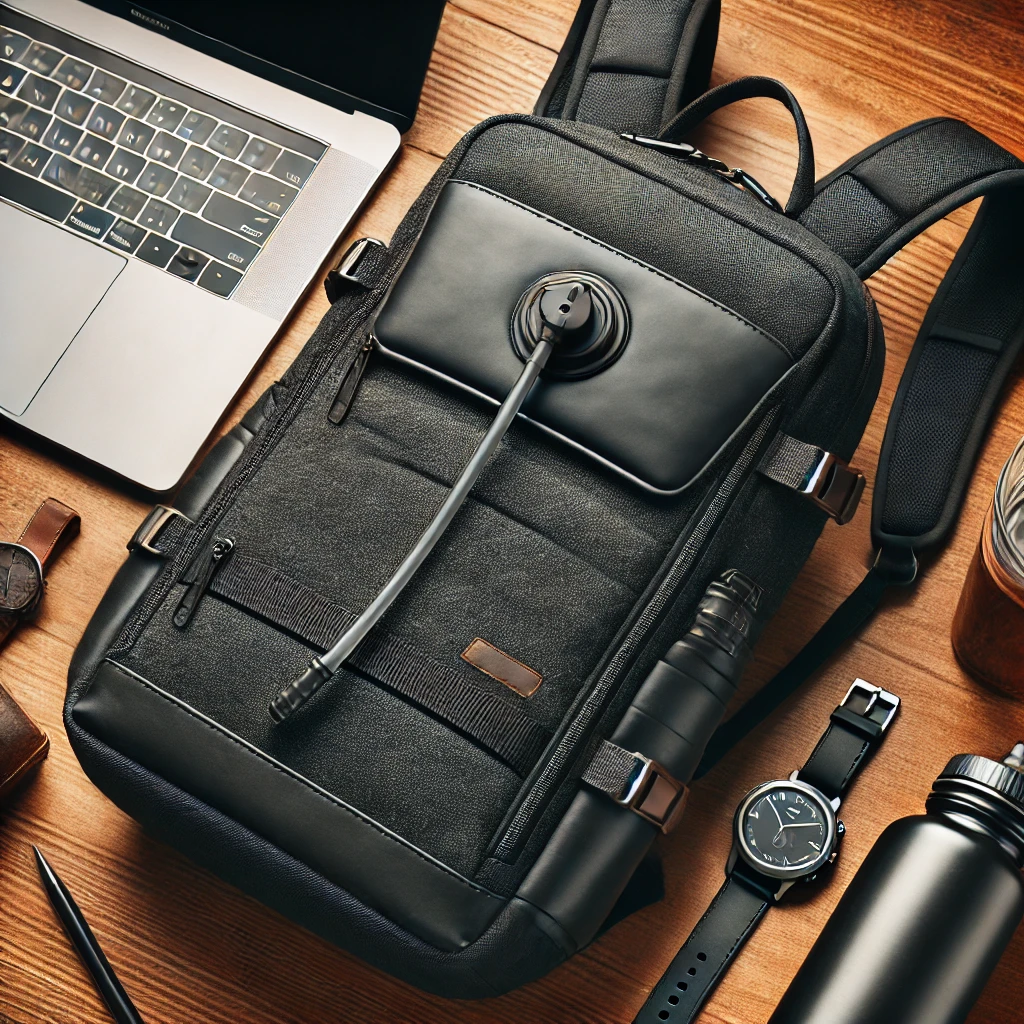
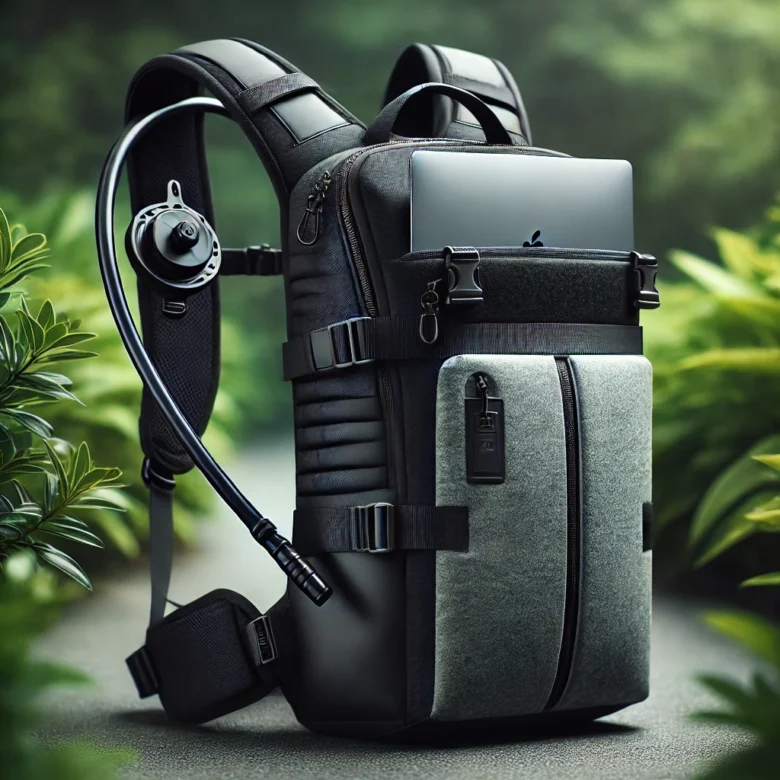
When it comes to versatile gear, backpacks with laptop sleeves and water bladders are ideal for students, professionals, and outdoor enthusiasts. This guide explores how to maximize functionality, store and set up a water bladder, waterproof your backpack, and even addresses the quirky question: can you put water in a bag of holding?
Why Choose a Backpack with a Laptop Sleeve and Water Bladder?
Whether you’re commuting to work, hiking through rugged terrain, or traveling, a backpack that combines a laptop sleeve with a water bladder compartment offers unmatched convenience. Here’s why:
- Dual Functionality: Carry your tech and stay hydrated simultaneously.
- Organized Storage: Separate compartments protect your devices and prevent leaks.
- Ideal for Outdoor Use: Perfect for long hikes, camping trips, or outdoor work where hydration is essential.

How Do You Store a Water Bladder in a Backpack?
Storing a water bladder (or hydration bladder) correctly ensures that it functions efficiently and prevents leaks. Here’s a step-by-step guide:
- Locate the Hydration Compartment:
- Most backpacks with water bladder compatibility feature a designated compartment, usually at the back for balance.
- Look for a sleeve labeled with a water-drop icon or a hydration logo.
- Insert the Water Bladder:
- Fill the bladder with water, ensuring it’s securely sealed.
- Slide it into the hydration compartment, with the nozzle facing upward.
- Secure the Bladder:
- Use straps, loops, or Velcro attachments to hold the bladder in place.
- This prevents it from shifting while you move.
- Thread the Hose Through the Outlet:
- Backpacks usually have a small hole or slit for the hose.
- Thread the hose through the opening, ensuring it’s easily accessible.
- Position the Hose Clip:
- Attach the hose to a strap or clip on the shoulder to keep it within reach.
How to Set Up a Water Bladder in a Backpack
Setting up a water bladder properly is crucial for comfort and usability. Follow these steps for an optimal setup:
- Inspect the Water Bladder:
- Check for leaks or cracks before filling it with water.
- Fill with Clean Water:
- Use filtered water to avoid contamination. Avoid overfilling to prevent spills.
- Install the Bladder into the Sleeve:
- Slide the filled bladder into the hydration compartment, ensuring it’s secure.
- Route the Drinking Tube:
- Pass the tube through the designated opening and attach it to the shoulder strap clip.
- Test Accessibility:
- Adjust the hose length to ensure you can sip water without difficulty while moving.
How Do You Waterproof the Inside of a Backpack?
Protecting the inside of your backpack from water damage is essential, especially when carrying electronics. Here are some practical methods:
- Use a Waterproof Liner:
- Insert a dry bag or waterproof liner inside your backpack.
- These provide an extra layer of protection for your belongings.
- Seal Electronics in Waterproof Bags:
- Place laptops, tablets, and other electronics in zippered waterproof bags.
- Apply Waterproof Sprays:
- Use a water-repellent spray to coat the fabric of your backpack.
- Reapply every few months for maximum protection.
- Consider Rain Covers:
- Invest in a rain cover specifically designed for your backpack.
- These are especially useful during heavy rain or outdoor activities.
- Avoid Overpacking:
- Overstuffing can compromise the effectiveness of waterproofing.
Can You Put Water in a Bag of Holding?
The concept of a “bag of holding” originates from fantasy games, where the bag can hold anything regardless of size or weight. While it’s a fun thought experiment, applying it to real-life backpacks sparks interesting considerations:
- Technically, Yes: A real-life equivalent might be a waterproof pouch. You can store water bottles or bladders safely within.
- Practical Challenges: Water stored loosely inside a bag would risk spillage, damaging other items.
- Best Practices: Always use dedicated containers or pouches to store liquids inside backpacks.
Top Features to Look for it
When selecting a backpack with these dual functionalities, prioritize the following:
- Dedicated Compartments:
- A padded laptop sleeve and a separate hydration sleeve.
- Durable Material:
- Water-resistant or waterproof fabrics such as nylon or polyester.
- Comfortable Straps:
- Padded shoulder straps and chest or waist straps for load distribution.
- Ventilation:
- Mesh back panels to prevent sweating during long hikes.
- Easy Access Pockets:
- Quick-access compartments for essentials like keys or snacks.
Benefits of Combining a Laptop Sleeve with a Water Bladder
- Carry hydration and work essentials in one pack.
- Enhanced Organization:
- Keep tech separate from hydration gear, minimizing risks of damage.
- Versatility:
- Suitable for work, travel, and outdoor activities.

Top Backpack Recommendations
- CamelBak Pivot Roll Top Backpack
- Includes a laptop sleeve and a 1.5L water bladder.
- Made with recycled materials and designed for urban commuters.
- Osprey Manta 24
- Features a laptop compartment and a 2.5L hydration bladder.
- Ideal for hiking enthusiasts.
- Thule Landmark 40L
- Combines tech storage with a removable hydration reservoir.
- Perfect for long travels.
- Timbuk2 Uptown Backpack
- Offers a TSA-friendly laptop compartment and water bottle storage.
- Great for frequent flyers.
- Nomatic Navigator Backpack
- Highly versatile with modular compartments for laptops and hydration systems.
Tips for Maintaining Backpacks with Laptop Sleeves and Water Bladders
- Clean the Water Bladder Regularly:
- Rinse with warm water and mild soap to prevent bacteria buildup.
- Wipe Down the Backpack:
- Remove dust and dirt using a damp cloth.
- Check Zippers and Straps:
- Inspect for wear and tear and replace damaged components promptly.
- Store Properly:
- Hang your backpack to air out after each use, especially after outdoor adventures.
Conclusion
A backpack with a laptop sleeve and water bladder is a game-changer for anyone balancing work and adventure. By following the setup and care tips in this guide, you can ensure your gear stays safe and functional. Whether you’re heading to the office or exploring the great outdoors, the right backpack can elevate your experience, keeping you organized, hydrated, and ready for anything
FAQs About Backpacks with Laptop Sleeves and Water Bladders
1. Can I use a backpack with a water bladder for work?
Yes! Many backpacks with water bladders also feature dedicated laptop sleeves and a professional design, making them suitable for work and commuting.
2. How do I clean a water bladder?
Rinse the bladder with warm water and mild soap after each use. For deeper cleaning, use a brush or a cleaning tablet designed for hydration bladders.
3. Is a backpack with a water bladder heavy to carry?
It depends on the water capacity and what you’re carrying. Look for backpacks with padded shoulder straps and waist belts for better weight distribution.
4. Can I put other liquids in the water bladder?
Technically, yes, but it’s not recommended. Non-water liquids can leave residue, making the bladder harder to clean and potentially causing odors.
5. Are these backpacks waterproof?
Most are water-resistant, but you may need additional protection like a rain cover or a waterproof liner to make them fully waterproof.
6. Do hydration bladders leak?
High-quality bladders are designed to be leak-proof, but improper sealing or damage to the bladder can cause leaks. Always check for proper closure before storing.


Leave a Reply